Safely Removing BIAB Nails with Creative Hands Removal Clips
- Catriona Holt
- Sep 25, 2023
- 2 min read

Are you ready to say goodbye to your Builder in a Bottle (BIAB) nails? Whether you're looking to change your nail style, give your natural nails a break, or simply want to start fresh, removing BIAB nails can be a straightforward process if done correctly. In this blog post, we'll guide you through the steps of safely removing BIAB nails using the Creative Hands Removal Kit, featuring Creative Hands removal clips, ensuring that your natural nails remain healthy and undamaged.
What Is BIAB?
Before we dive into the removal process, let's briefly explain what BIAB is. Builder in a Bottle (BIAB) is a nail enhancement technique that involves applying layers of a thick, durable builder gel to your natural nails. It provides added strength and length, creating a beautiful and long-lasting manicure.
Why Use the Creative Hands Removal Kit with Clips?
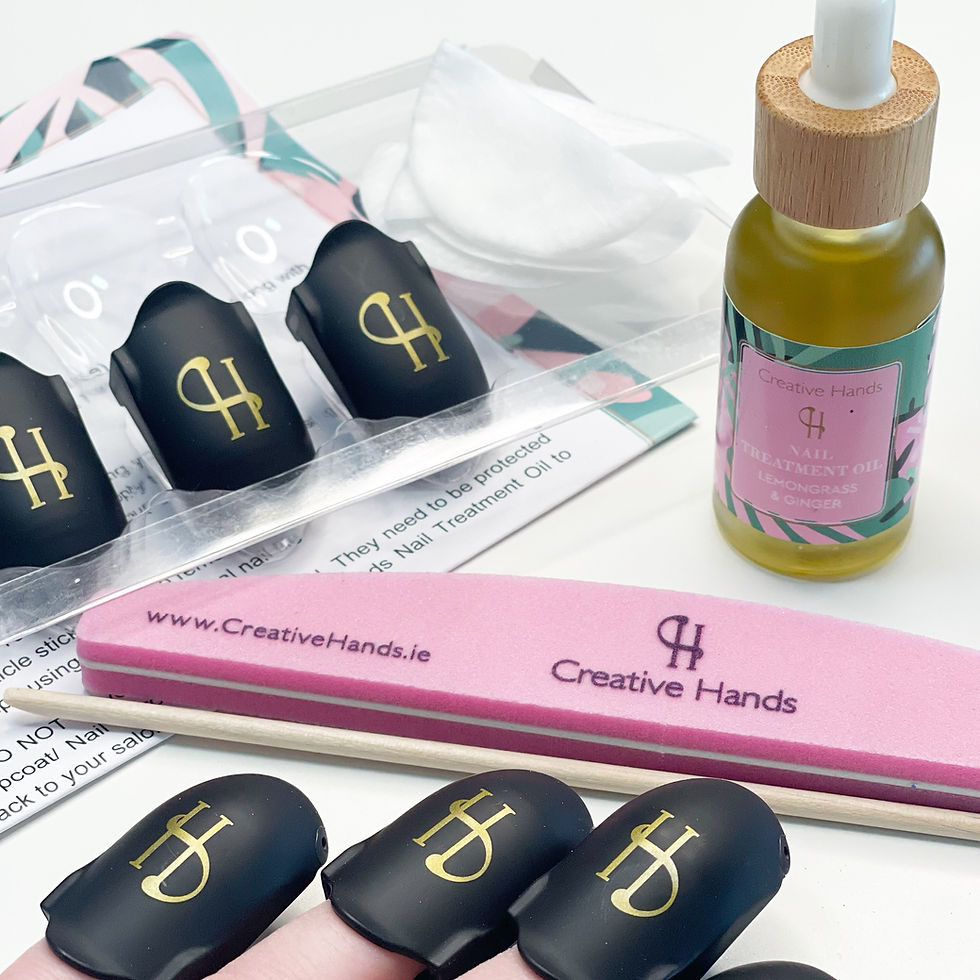
The Creative Hands Removal Kit, equipped with Creative Hands removal clips, is a popular choice for safely removing BIAB nails because it contains the necessary tools and products to make the process smooth and effective. The removal clips are designed to securely hold cotton pads during the removal process, ensuring that the acetone stays in contact with the BIAB gel without the need for aluminum foil.
Step-by-Step Guide to Removing BIAB Nails
Step 1: Gather Your Supplies
- Ensure you have the Creative Hands Removal Kit with Creative Hands removal clips, along with a towel for any spills or mess.
Step 2: File the Topcoat
- Use the nail file provided in the kit to file 70% of your BIAB nails. This step helps the acetone penetrate the gel.
Step 3: Apply Acetone
- Soak a cotton pad in the acetone solution and place it on top of your filed nail.
Step 4: Secure with Creative Hands Removal Clips
- Secure the Creative Hands removal clip over the cotton pad and your nail, holding it in place. Repeat this process for all your BIAB nails.
Step 5: Wait Patiently
- Allow the acetone to work its magic for about 10-15 minutes. During this time, you can relax and catch up on your favorite book or show.
Step 6: Remove Clips and Cotton Pads
- After the allotted time, carefully remove the Creative Hands removal clips and cotton pads from each nail. You should notice that the BIAB gel has softened.
Step 7: Gently Push and Remove
- Use a cuticle pusher or wooden stick to gently push off the softened BIAB gel from your natural nails. Be patient and avoid scraping, as this can damage your nails.
Step 8: Buff and Clean
- Once all the gel is removed, use the nail buffer to smooth the surface of your natural nails. Afterward, wash your hands to remove any remaining acetone residue.
Step 9: Moisturize
- Finish off by applying a nourishing cuticle oil or hand cream to keep your natural nails healthy and hydrated.
By following these steps and using the Creative Hands Removal Kit featuring Creative Hands removal clips, you can safely and effectively remove BIAB nails, leaving your natural nails in great condition. Remember to be patient and gentle throughout the process to avoid any damage. Enjoy your fresh canvas for your next nail adventure!
SHOP Creative Hands Clips HERE


sffj